
Mastering the Art of Growing Autoflower Seeds Guide
- Bobby Olander
- Mar 16
- 4 min read

Growing cannabis can feel like a magical journey, especially when you’re working with autoflower seeds. These little powerhouses are like the sprinters of the cannabis world - fast, efficient, and surprisingly easy to handle. I remember my first time trying to grow them; it was like trying to bake a cake without a recipe. But after a few tries, I got the hang of it, and now I’m here to share everything I’ve learned with you. So, grab your gardening gloves and let’s dive into the wonderful world of autoflower seeds!
Your Ultimate Autoflower Seeds Guide: Getting Started
If you’re new to growing cannabis or just switching to autoflowers, the first thing to know is that these plants don’t wait around. Unlike photoperiod strains that need a change in light cycles to flower, autoflowers start flowering automatically after a few weeks. It’s like they have their own internal clock ticking away.
Here’s what I’ve found works best when starting out:
Choose the right seeds: Quality matters. I always recommend picking seeds from a trusted source to avoid any surprises.
Light schedule: Autoflowers don’t need a strict light schedule, but giving them 18-24 hours of light daily helps them grow strong and fast.
Soil and nutrients: Use light, airy soil with good drainage. Autoflowers are sensitive to overfeeding, so start with mild nutrients and increase slowly.
Watering: Keep the soil moist but not soaked. Overwatering is a rookie mistake I made more than once!
One of the coolest things about autoflowers is their size. They tend to be smaller and more discreet, which is perfect if you’re tight on space or want a stealthy grow. Plus, their quick turnaround means you can enjoy multiple harvests in a year.

What is the strongest auto strain?
Now, if you’re like me, you want to know which autoflower strain packs the biggest punch. The answer isn’t straightforward because “strongest” can mean different things - highest THC, best yield, or most resilient plant. But here are a few strains that have earned their reputation for strength:
Gorilla Glue Auto: Known for its heavy resin production and potent effects, this strain is a favorite for those seeking a powerful buzz.
Amnesia Haze Auto: A classic with a strong cerebral high and decent yield, perfect for daytime use.
Critical Auto: Offers a robust yield and a balanced high, making it a reliable choice for many growers.
These strains are like the heavyweight champions of autoflowers. They deliver impressive potency without demanding too much fuss. Just remember, even the strongest strain needs the right care to shine.
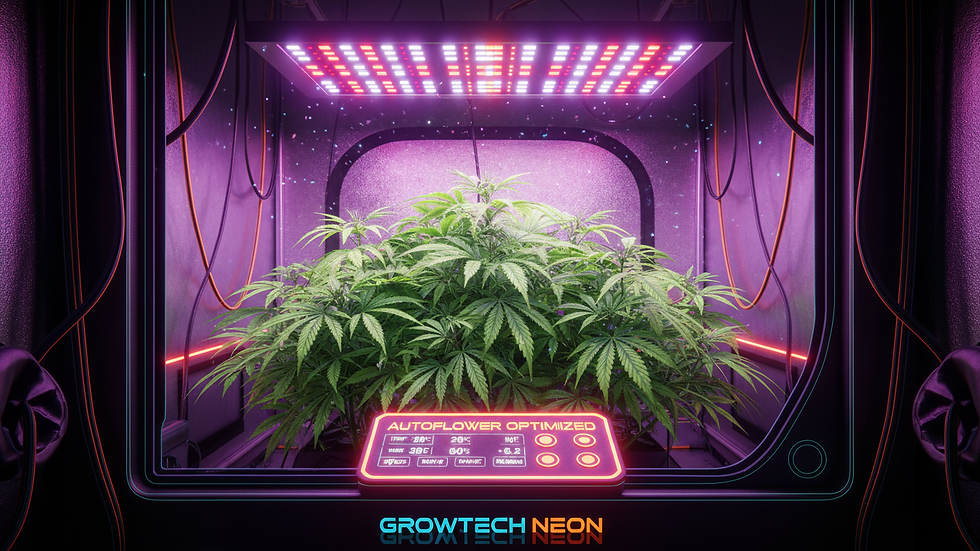
Lighting and Environment: Setting the Stage for Success
Lighting is the heart and soul of any cannabis grow, and autoflowers are no exception. But here’s the twist - they don’t rely on light cycles to flower, so you can keep the lights on almost all the time. I usually run my grow lights for 20 hours a day and give the plants a 4-hour break to mimic a natural rhythm.
When it comes to the type of light, LED grow lights are my go-to. They’re energy-efficient, produce less heat, and give your plants the perfect spectrum for growth. Plus, they won’t burn your plants if you keep them at the right distance.
Temperature and humidity also play a big role. Autoflowers like it cozy but not too hot:
Temperature: Aim for 70-85°F (21-29°C) during the day and slightly cooler at night.
Humidity: Keep it around 40-60% during vegetative growth, then lower it to 40-50% during flowering to prevent mold.
Creating a stable environment is like setting the stage for a play - everything needs to be just right for the star (your plant) to shine.
Feeding and Watering: The Balancing Act
Feeding autoflowers is a bit like cooking a delicate dish - too much spice and you ruin the flavor, too little and it’s bland. These plants are sensitive to nutrients, so I always start with a light feeding schedule.
Here’s my simple nutrient plan:
Seedling stage: No nutrients needed, just clean water.
Vegetative stage: Use a balanced nutrient mix with equal parts nitrogen, phosphorus, and potassium.
Flowering stage: Switch to a formula higher in phosphorus and potassium to support bud development.
Watering is just as crucial. I like to water when the top inch of soil feels dry. Overwatering can drown the roots and stunt growth, so patience is key. Also, make sure your pots have good drainage to avoid waterlogging.
Pro tip: Use pH-balanced water (around 6.0-6.5) to help your plants absorb nutrients better. I keep a little pH meter handy - it’s like a compass for your grow.
Harvesting and Beyond: Reaping the Rewards
Harvest time is the grand finale, and it’s where all your hard work pays off. Autoflowers usually finish in 8-12 weeks from seed, so keep a close eye on your plants as they approach maturity.
Here’s how I know it’s time to harvest:
Trichomes: Use a magnifying glass to check the tiny resin glands. When they turn milky white with some amber, it’s prime time.
Pistils: The hairs on the buds will darken and curl in.
Harvesting is like picking fruit from a tree - timing is everything. Cut your plants, trim the buds, and hang them upside down in a dark, ventilated space to dry. After drying, curing the buds in airtight jars for a few weeks enhances flavor and potency.
Growing autoflowers is a rewarding adventure. Each step, from seed to harvest, teaches you something new. And the best part? You get to enjoy the fruits of your labor sooner than you think.
If you want to dive deeper into the world of autoflower seeds, check out this autoflower seeds resource for top-quality genetics and expert tips. Happy growing!


Comments